 ZOOMRY

How to Replace a belt conveyor – Step-by-Step Guide
Replacing a worn or damaged Conveyor Belt is a critical maintenance procedure that directly impacts system uptime and operational safety. Whether you're replacing a fabric belt on a short transfer conveyor or a steel cord belt on a long-distance system, following a structured replacement procedure minimizes downtime and prevents installation errors. As a professional bulk material handling solution provider, ZOOMRY supplies complete belt conveyor systems and replacement belts for mining, cement, and port operations. This guide walks through the five essential steps for safe and effective conveyor belt replacement.
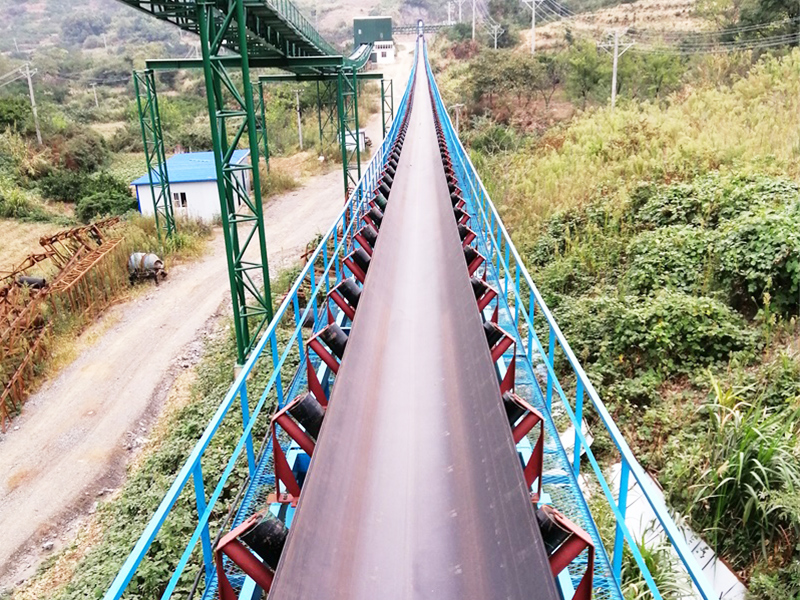
Step 1: Power Lockout and Preparation
Before any work begins, follow proper lockout/tagout (LOTO) procedures. Turn off and isolate all power sources to the conveyor drive system. Remove the protective guards and covers from the drive pulley and tail pulley areas. Loosen the motor assembly mounting bolts and release the take-up pulley tension to create slack in the belt — this makes it possible to slide the old belt off the pulleys. For large conveyor systems, use a belt winder or come-along to manage the belt weight safely.
Step 2: Remove the Old Belt and Inspect Components
Carefully remove the old conveyor belt. As you do, inspect it for abnormal wear patterns:
- Uneven edge wear indicates belt misalignment — check idler alignment and guide rollers
- Excessive top cover wear suggests loading point issues — inspect impact beds and feed chutes
- Bottom cover wear indicates roller or pulley problems — check for seized rollers and pulley lagging wear
Select a suitable replacement belt. Consider upgrading to a higher-grade belt if the old one failed prematurely. ZOOMRY offers 11 types — from economical fabric belts to high-tensile steel cord belts for long-distance applications.
Step 3: Check Safety and Alignment Devices
Before installing the new belt, inspect all belt conveyor safety and alignment devices:
- Belt misalignment switches — verify they trigger correctly and are positioned at proper distance from the belt edge
- Belt arrestors and break detection systems — test functionality on incline conveyors
- Pulley lagging — check ceramic pulley lagging for wear; replace if friction coefficient has degraded
- Rollers and idlers — replace any seized or rough-rotating rollers that could damage the new belt
If any deviation or wear is found, adjust or repair immediately. Installing a new belt on faulty components will lead to premature failure.
Step 4: Install the New Belt and Adjust Tension
Position the new conveyor belt over the pulleys and conveyor rollers, ensuring the belt is centered and oriented correctly (check the directional arrow if applicable). For heavy belts, use a belt winder or come-along to pull the belt ends together for splicing. If using a steel cord belt, hot vulcanized splicing is strongly recommended for maximum joint strength.
Adjust the center distance of the transmission device and use a tension measuring instrument to set the correct belt tension. The take-up pulley should be adjusted until the belt achieves the manufacturer-specified tension — typically 1-2% elongation for fabric belts and 0.1-0.25% for steel cord belts. Secure all motor mounting bolts and verify the belt tracks centrally on all pulleys. Insufficient tension causes slippage; excessive tension causes bearing overload and belt stretch.
Step 5: Run and Test
After belt installation is complete, run the conveyor through a full test sequence:
- Start with a slow jog to verify belt tracking — the belt should run centered on all pulleys and idlers
- Gradually increase to full speed and observe for at least 30 minutes under no-load conditions
- Listen for abnormal noise or vibration — immediate shutdown if detected; check motor, bearings, and pulley alignment
- Run under partial load, then full load — monitor belt tracking, tension, and splice condition
- After 8 hours of operation, re-check belt tension — new belts typically stretch slightly during the run-in period and require re-tensioning
Document the replacement date, belt type, splice method, and initial tension settings for future maintenance reference.
Related Equipment
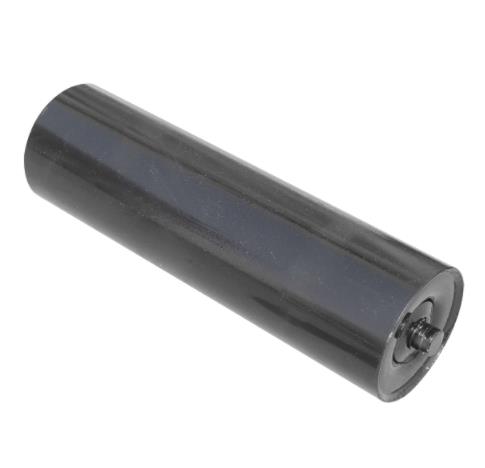
Replace worn rollers during belt change — 50,000+ hour service life with IP66 sealing.
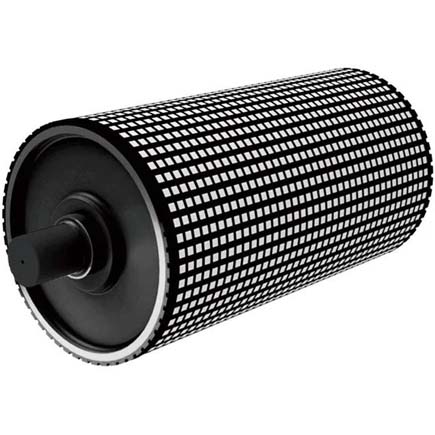
Inspect and replace pulley lagging during belt change for optimal drive grip.
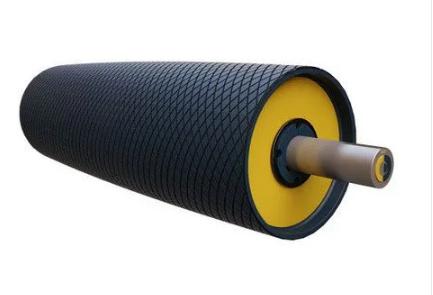
Proper take-up adjustment is critical for new belt tension and tracking.
Industry Solutions
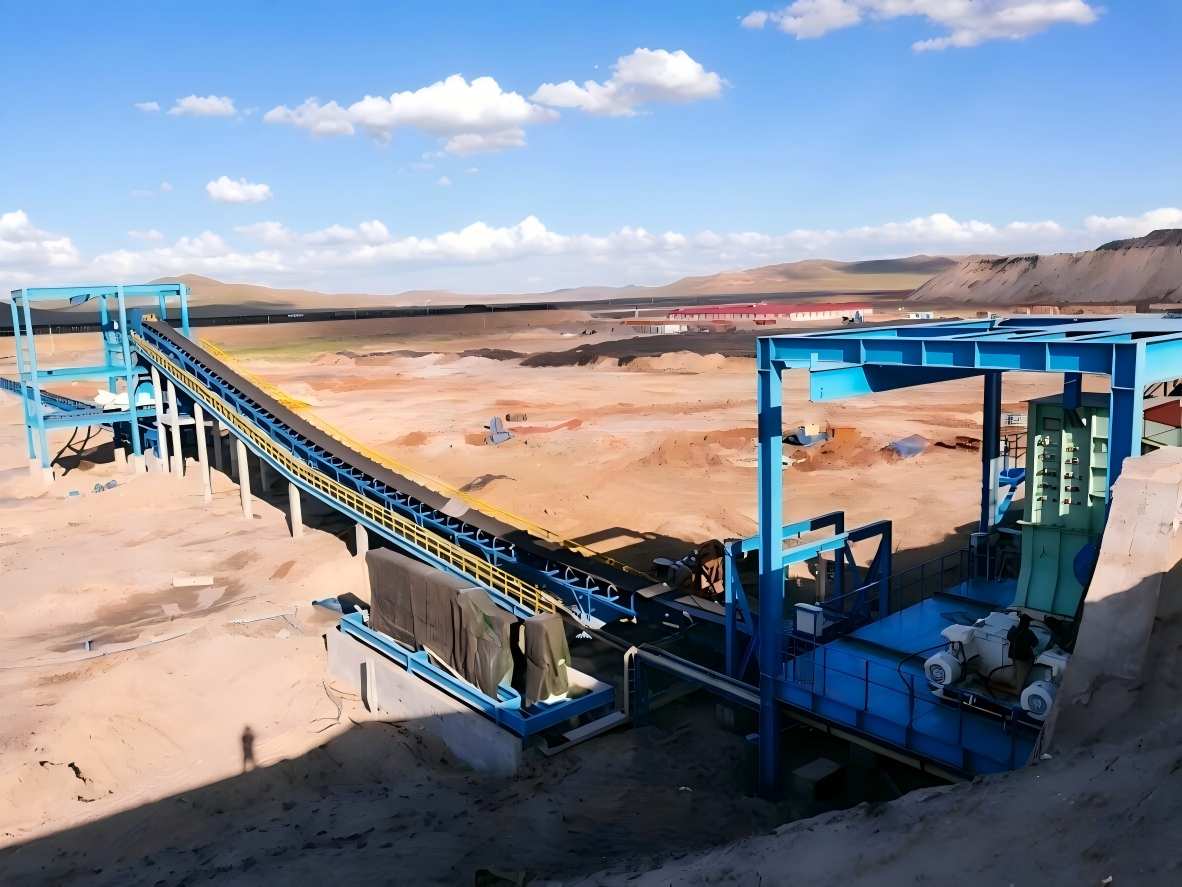
Heavy-duty conveyor belt replacement for abrasive ore transport — steel cord belts recommended.

Belt replacement procedures for biomass conveyors — dust control during maintenance.
Need a Replacement Conveyor Belt?
Contact ZOOMRY for conveyor belt selection, splice specifications, and technical support for your belt replacement project.
Contact Us →